Restoring Backups
Restoring a Manual Backup
If you previously followed the steps to back up your data and have an Actual zip export, you can restore this backup by importing it using the Import File button in the Switch File page.
Steps to Restore a Backup:
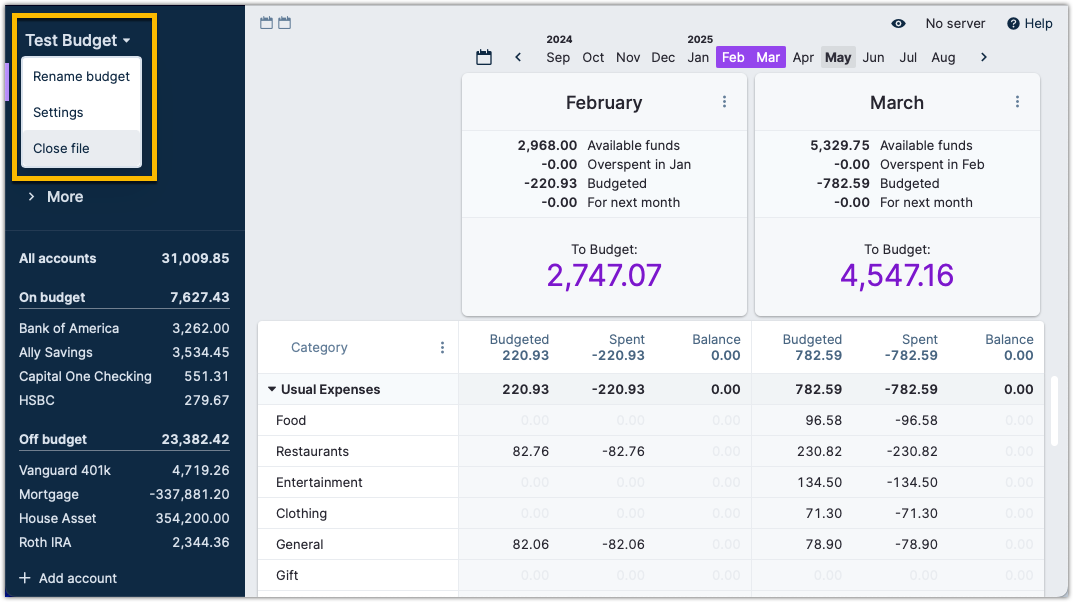
- Close your current budget by clicking on the budget name in the top left corner of the screen and choosing the option to close the budget file.
-
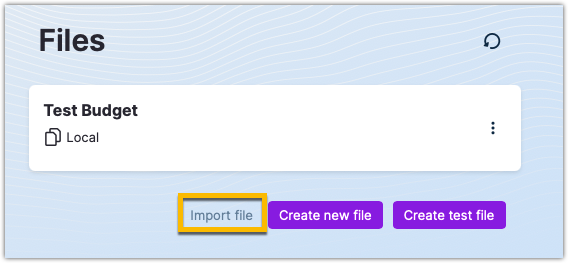
In the Budget Selection Screen, or File Screen that appears, click on Import file.
-
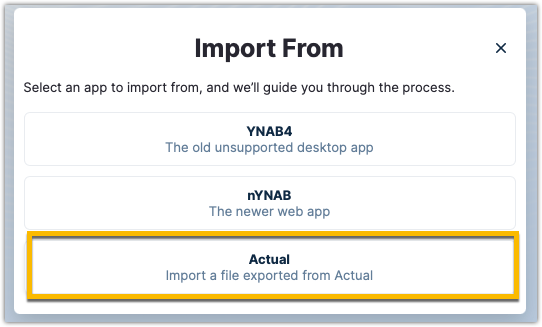
Choose the Actual option.
-
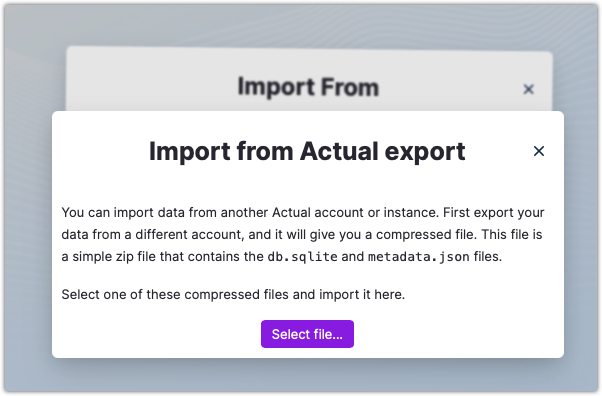
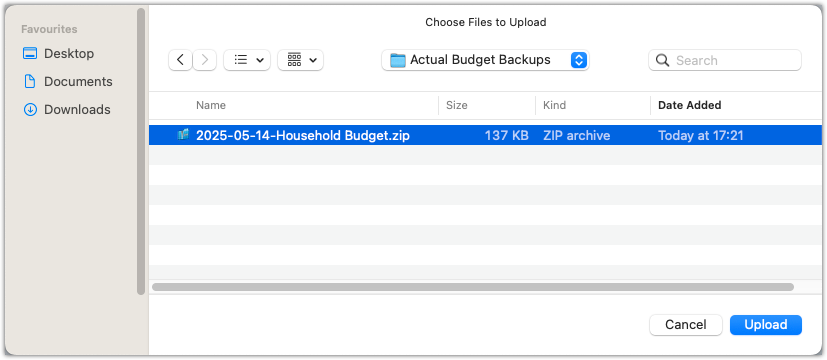
Then click on the Select file... button.
-
Navigate to the location of where you stored your backup file, select it and click on the upload button.
That is it. The backup is now restored. If the imported budget is a copy of your current budget, you may want to rename the import by clicking on its name and rename it. Once you verify the new imported budget is correct, you can navigate back to the budget selection screen by closing the current budget and deleting the old copy.
Errors When Restoring Database From Backup
You may encounter an error during restoration that says:
This budget cannot be loaded with this version of the app. Make sure the app is up-to-date.
This should only happen when you upgrade from a Docker image with the edge tag to a stable release, such as latest. It should not happen in other instances. If you see this bug, please submit a bug report.
IMPORTANT NOTE: You MUST download a backup of each of your budgets using the process outlined above before continuing. It's always good practice to backup your data before upgrading to a new version.
The fix for this is to migrate your SQLite database in the steps outlined below manually:
- Download and install SQLite Browser
- Unzip the backup budget
.zipfile. The filename should look like:yyyy-mm-dd-My-Finances-abcd1234.zip - Open SQLite Browser. Click on the "Open Database" button and navigate to the file you just unzipped. You're looking for a file named
db.sqlite. - Load the file and click on the
Browse Datatab. Select the__migrations__table from the table dropdown menu. - You should see a list of integers under the' id' column. Cross-reference the entries in this table with the list of database migrations in the main Actual repository.
- For every integer that's missing, click on the
.sqlfile associated with it and copy the raw data. - Run the SQL query in the Execute tab of SQLite Browser. Be sure to check the output that the command was successful.
- If the SQL query that you copied is successful, you'll want to insert the migration command's id into the
__migrations__table by executinginsert into __migrations__ values(id_of_missing_migration_command);. - Once your
__migrations__table matches the database migrations folder, commit and close the database. - Rezip your modified
db.sqliteandmetadata.jsonfiles into a zip file. - Retry the restore process outlined above.
Automatic Backups
Automatic backups are currently only available in the desktop app.
Actual keeps backups of your data locally. If something disastrous happens, you can always load a recent backup to regain your data.
Currently, it keeps up to 10 backups, one for each you used the app, and multiple backups of the current day. The result is you will have data backed up up to the last 15 minutes, in addition to the previous 10 days you used the app.
Loading an Automatic Backup
- Select the File > Load Backup… menu item
- Choose the backup you want to load and select it
The app will reload with the data from that backup. If you want to keep using that backup, you don't have to do anything else; keep using the app. If you wish to return to the previous data, reopen the backup menu and select Revert to original version. This option will be available until another backup is made.